


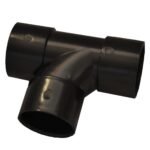




PVC Waste Tee 1¼ Inch
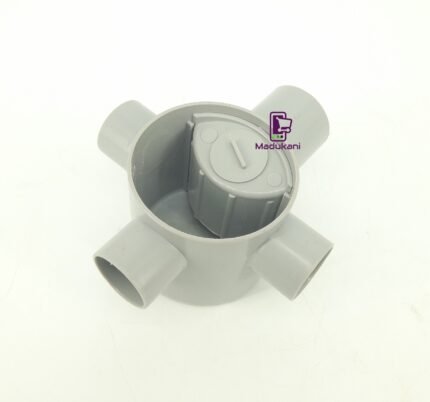
The Generic PVC Waste Tee provides a reliable 90-degree branch connection for standard residential and commercial drainage systems. This uPVC fitting allows for the convergence of two waste streams into a single discharge pipe. It is specifically designed for 32mm (1.25 inch) waste lines commonly found in bathroom and kitchen installations.
Built for the Job
This plumbing component is essential for site supervisors and plumbers managing internal waste water layouts. It handles gravity-fed greywater discharge from wash hand basins, urinals, and small sinks. The uPVC construction ensures the fitting resists the corrosive effects of domestic detergents and hot water cycles. This material maintains its structural integrity without warping or leaking when properly installed using solvent cement. The internal bore is finished to a high standard to prevent debris snagging and subsequent blockages in the waste stack.
-
Connecting secondary waste branches to a main vertical or horizontal stack.
-
Installation in restricted ceiling voids or under-sink cabinets.
-
Retrofitting existing drainage systems with new appliance outlets.
Product Highlights
- High-Grade uPVC Material
-
The unplasticized polyvinyl chloride build provides excellent chemical resistance and mechanical strength.
- Solvent Weld Connection
-
- Ensures a permanent, leak-proof chemical bond at every joint.
- Compatible with all standard 32mm solvent cement adhesives.
- Optimized Flow Design
-
Smooth internal walls reduce friction and prevent the buildup of biofilm and particulate matter.
Technical Specifications
| Specification | Detail |
|---|---|
| Nominal Diameter | 1¼ Inch (32mm) |
| Material | uPVC (Unplasticized Polyvinyl Chloride) |
| Angle | 90 Degrees (Tee) |
| Joint Type | Solvent Weld (Female/Female/Female) |
| Color | White / Grey (Standard Waste) |
| Standards Compliance | BS 5255 / EN 1329 Equivalent |
What’s Included
-
1 x 32mm (1¼ Inch) uPVC Waste Tee Fitting
On-Site & Workshop Notes
-
Ensure the pipe is cut square and all burrs are removed before applying adhesive.
-
Clean both the pipe end and the internal socket of this fitting with a dedicated pipe cleaner.
-
Apply a uniform layer of solvent cement and insert the pipe fully, giving a slight twist to distribute the glue.
-
Allow at least 5 minutes of setting time before moving the assembly and 24 hours before full pressure testing.


Reviews
There are no reviews yet.